How to Compress Images Without Losing Quality
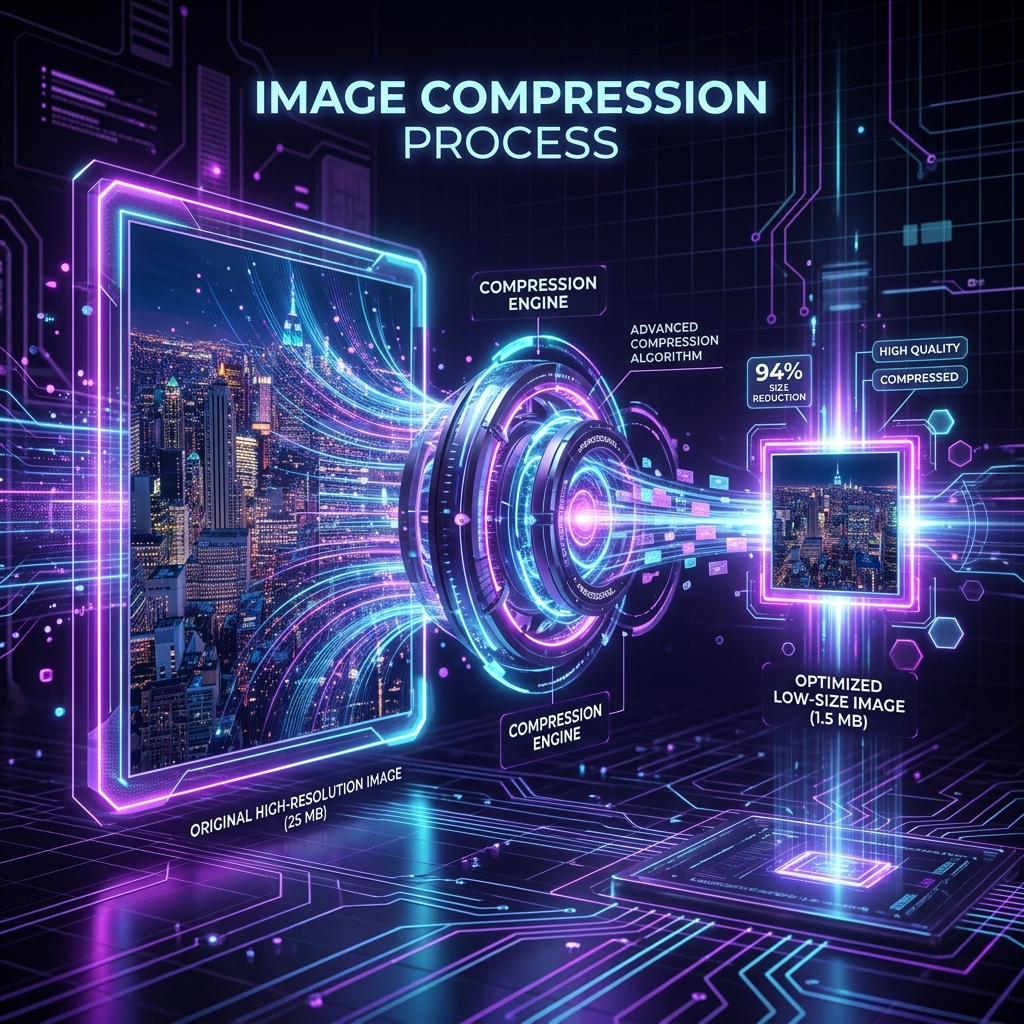
Optimizing your images for the web doesn't mean they have to turn into pixelated blobs. In this guide, we break down the mechanics of modern image compression, formatting options, and how to reduce file weight while keeping your visual assets crisp.
👉 Try our free image compressor — free, no upload, works in your browser instantly.
1. Lossless vs. Lossy Compression: What's the Difference -
To compress images effectively, it is vital to understand the two main compression strategies:
- Lossless Compression: This reduces file weight without throwing away any pixel data. When decompressed, the image is mathematically identical to the original. This is default for PNG files and is ideal for logos, text screenshots, and sharp UI designs.
- Lossy Compression: This selectively discards pixel details that are less noticeable to the human eye (such as fine color gradients or complex noise patterns). It achieves massive file size reductions (up to 80-90%) but can introduce artifacts if pushed too far. This is standard for JPEGs and optional in WebP/AVIF.
2. The Impact of Image Dimensions (Resolution)
Many website owners try to compress a raw 4000x3000 pixel camera file directly to under 100kb, only to end up with a heavily pixelated image. The most effective way to optimize without losing quality is to resize the physical dimensions first. If your blog display box is 800 pixels wide, resizing the photo to 800px width immediately removes millions of redundant pixels, dropping file size by up to 90% before compression even starts.
3. Optimizing Quantization and Bitmaps on Browser Canvas
Client-side compressors load images into a virtual canvas, decapsulating bitmap coordinates to apply bisection search algorithms. Tweak parameters like color depth and quantization levels to trim file size while retaining visual details. By stripping meta tags and GPS data, you can reduce file sizes by up to 80% without affecting the image quality, making pages load faster.
During canvas encoding, the browser's JavaScript engine reads the raw pixel array and optimizes the file structure. For JPEGs, this involves adjusting Huffman tables and quantization matrices. For PNGs, it means applying color reduction algorithms to convert a 24-bit image to an 8-bit indexed palette. Stripping non-essential camera details like exposure settings and geolocation tags reduces file size further without altering a single pixel, facilitating quick storage cleanup.
4. Finding the Perfect Compression Quality Balance
Selecting the right compression level depends on the image content. Detailed photos or prints look best at 80% to 90% quality, while standard web cards and backgrounds can be compressed to 70% quality. Side-by-side visual previews help you spot compression artifacts before downloading, ensuring maximum optimization without pixelation.
A split-pane side-by-side comparison slider is a valuable feature for testing quality limits. It allows you to inspect text clarity, edge contrast, and color blending at different compression ratios. While standard product listings can handle aggressive compression, photography portfolios require higher fidelity. Visual testing ensures that you compress files as much as possible while maintaining a professional appearance, ensuring optimal presentation.
5. Core Web Vitals Optimization Strategies
Compressing images directly improves Core Web Vitals, particularly Largest Contentful Paint (LCP) and Cumulative Layout Shift (CLS). Pre-scaled and compressed WebP files load faster, reducing mobile load times. This optimization boosts user experience, reduces bounce rates, and helps pages rank higher in Google search results.
Modern search engines prioritize pages that load quickly and remain stable on mobile screens. Serving uncompressed images causes layout delays and shifts, frustrating visitors and lowering search rankings. By pre-scaling and compressing images before upload, you ensure fast rendering, improve Core Web Vitals scores, and help your site stand out in search results, driving more organic traffic.
6. The Security Architecture of Local Client-Side Processing
Unlike traditional online image utilities that require uploading private assets to cloud servers, TinyImagefy performs all file calculations directly inside the user's browser runtime memory. By utilizing modern web APIs such as the HTML5 Canvas API, the File Reader API, and WebAssembly (WASM) modules, the website parses binary image streams locally. This serverless execution model eliminates transmission overhead, making it impossible for malicious entities or database leaks to compromise your personal documents, photography portfolio, or sensitive ID scans. All operations execute strictly within the local browser sandbox, providing enterprise-grade security for everyday workflows.
7. Compliance and Regulatory Benefits of Serverless Tools
Processing media assets locally aligns perfectly with strict international data protection regulations, including the General Data Protection Regulation (GDPR) in Europe and the California Consumer Privacy Act (CCPA) in the United States. Since no image files, EXIF headers, or metadata profiles are uploaded, stored, or processed on remote server arrays, TinyImagefy acts as a passive container. This means businesses, developers, and photographers can sanitize their visual assets, strip GPS coordinates, or crop passport photos without worrying about data processing agreements or regulatory compliance issues. Keeping your files offline is the ultimate way to maintain data sovereignty in a hyper-connected digital landscape.
3. Browser-Side Optimizations & Local Processing
Traditionally, image compression was done on servers, causing slow upload times and privacy risks. Modern tools (like TinyImagefy) leverage your browser's local processing capability via HTML5 Canvas. By reading the image file directly into memory and utilizing a bisection search algorithm, the engine compresses files locally on your CPU in milliseconds, without any remote server uploads.
4. Summary Checklist for Web Images
- Resize the image to its maximum display size on your website.
- Use WebP or AVIF formats for standard photographs.
- Keep PNG format for transparent backgrounds and logos.
- Strip EXIF metadata (GPS coords, camera model) to save up to 10% in file weight.
Frequently Asked Questions
Yes — 100% free, unlimited, no signup. All tools work forever at no cost.
Never. Everything runs in your browser. Your files never leave your device.
JPG, PNG, WebP, AVIF, HEIC, BMP, GIF, SVG, TIFF, and PDF — across 30+ tools.
Yes — works perfectly on iPhone, Android, tablet, and desktop browsers.
The TinyImagefy team builds privacy-first browser tools for image processing. All tools run 100% locally — no uploads, no servers, no tracking. We've helped millions of users compress, convert, and edit images safely since 2024.
About Us →